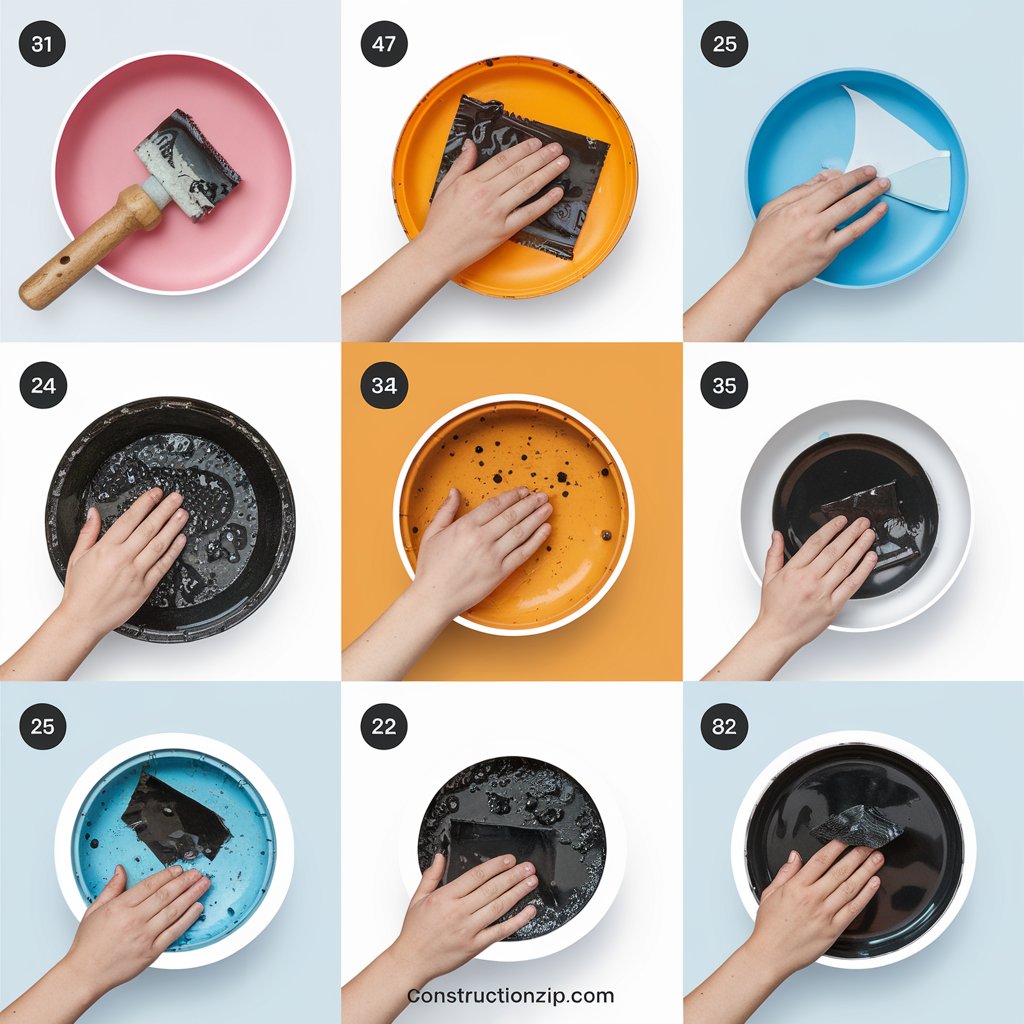
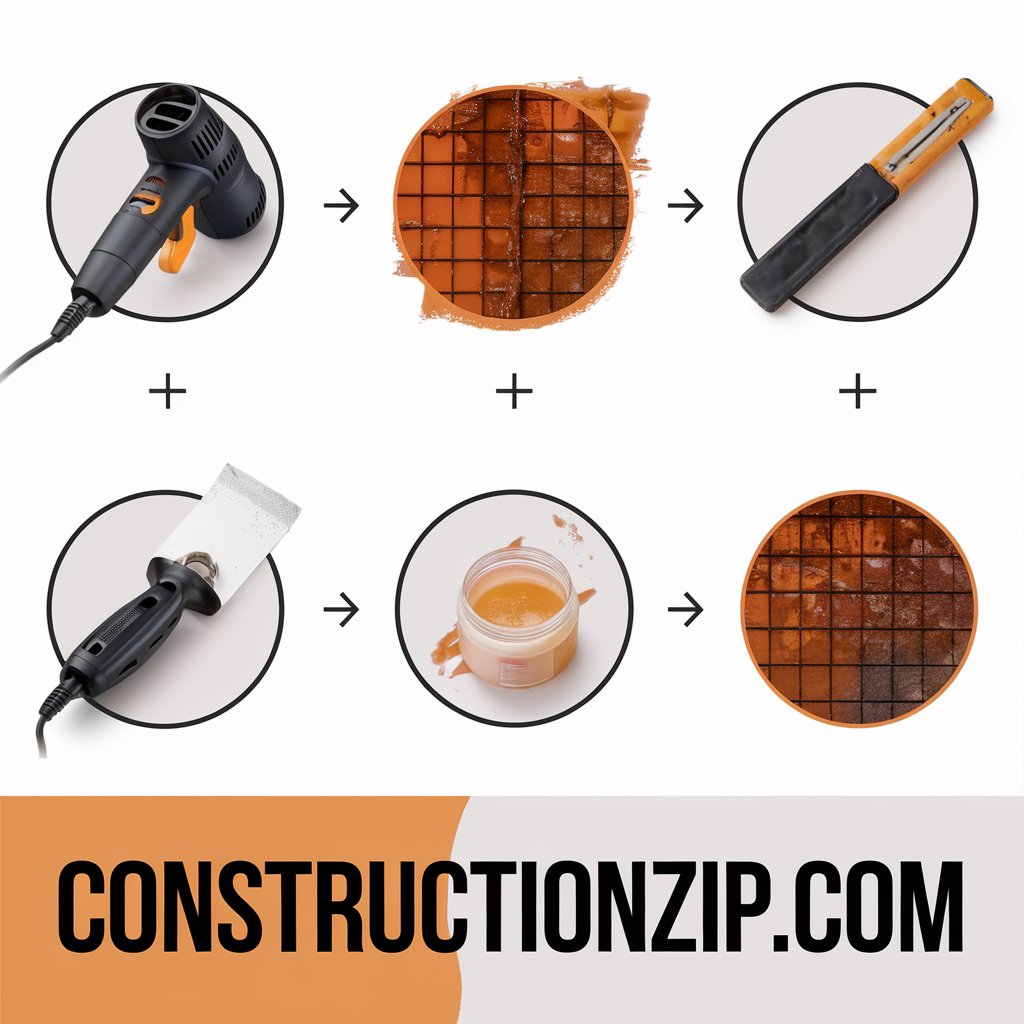
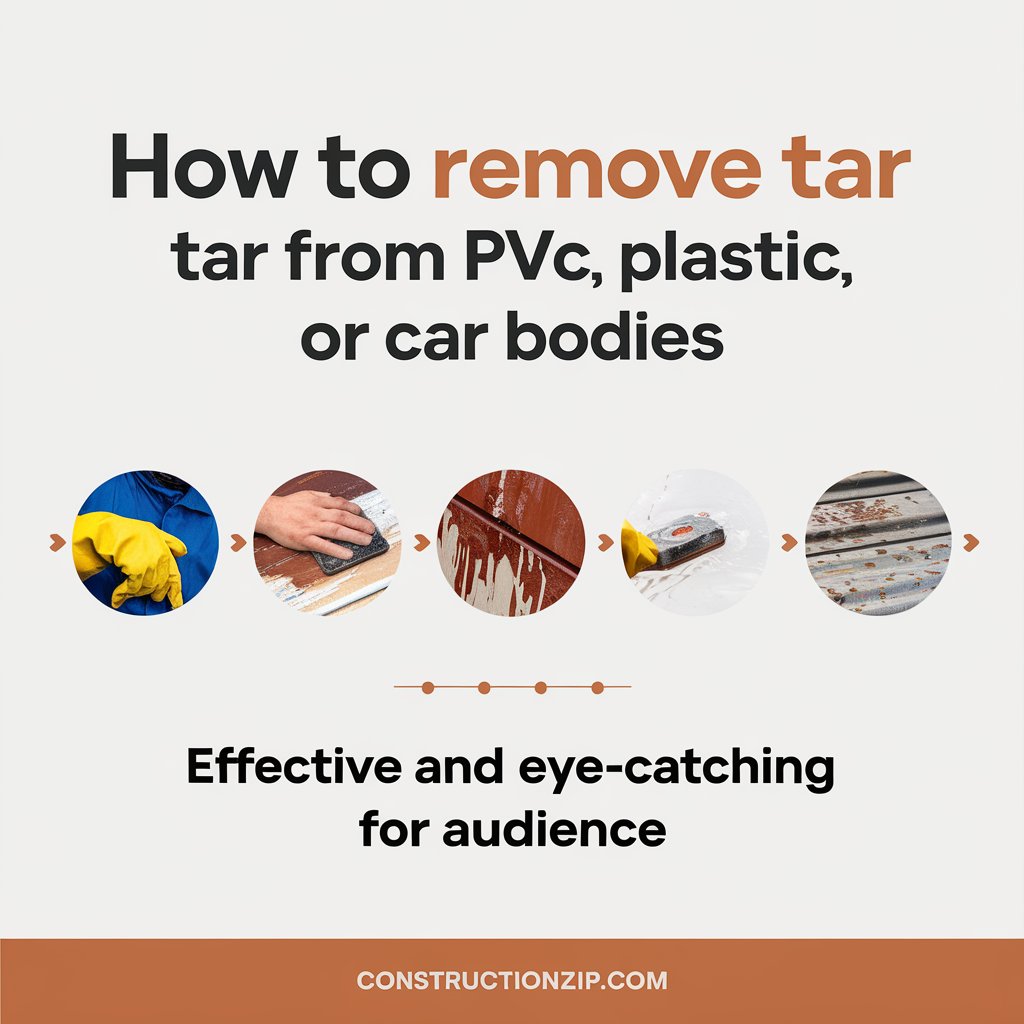
Tar is a hard, invisible substance that can penetrate PVC, plastic surfaces or car bodies. If your car come in contact with tar or you have spilled tar on the car, it is utmost important to know about the ways to remove it. The following comprehensive guideline give you step by step technique for tar removal from plastic, PVC and bodywork and after then restoring it in original position.

Table of Contents

1. Preparing for Tar Removal
Before diving into the actual tar removal process, it’s crucial to prepare the necessary tools and materials. Gather the following items:
- Rubber gloves
- Safety goggles
- Protective clothing
- Plastic scraper
- Soft microfiber cloths
Tar removal solvent (such as citrus-based cleaner or rubbing alcohol)
As a precautionary measure, ensure to be in safe full ventilated areas to avoid the inhaling of any toxic gases that originates from the solvent.
Ensure that you are in a well-ventilated area to prevent inhaling any harsh fumes from the solvent.
2. Tar Removal from PVC and Plastic Surfaces
Step 1: Scrape off Excess Tar
Using a plastic scraper, gently remove any excess tar from the PVC or plastic surface. Be careful not to scratch or damage the material while doing this.
Step 2: Apply Tar Removal Solvent
Dampen a soft microfiber cloth with the tar removal solvent. Gently dab the affected area with the cloth, ensuring the tar is thoroughly saturated. Allow the solvent to penetrate the tar for a few minutes, softening it in the process.
Step 3: Wipe and Clean
Using the same cloth, start wiping the tar in a circular motion. Apply gentle pressure to lift the tar off the surface. Continue wiping until all the tar is removed. If necessary, repeat the process using a fresh cloth and more solvent.
Step 4: Rinse and Dry
Once the tar is completely removed, rinse the PVC or plastic surface with clean water. Dry it thoroughly with a soft cloth to prevent water spots or residue.
3. Tar Removal from Car Bodies
Step 1: Preparation of car surface
It is important to park the car in shaded area to avoid direct sunlight rays, as the sunrays directly responsible for tar to harden. The surface is cool to touch only if the car engine is turned off.
Step 2: Scrape off Excess Tar
The removal of excessive tar from the surface of car can be done by using plastic scraper.
Take your time and be gentle to prevent scratching the paint.
Step 3: Apply Tar Removal Solvent
Dampen a soft microfiber cloth with the tar removal solvent. Gently rub the affected areas, ensuring the tar is thoroughly saturated. To break down the tar, allow the solvent to sit for few minutes.
Step 4: Wipe and Clean
Using the cloth, start wiping the tar in a gentle, back-and-forth motion. Apply moderate pressure to lift the tar off the car’s surface. Continue wiping until all the tar is removed. Use a fresh cloth and more solvent if needed.
Step 5: Wash and Wax
After removing the tar, wash the car thoroughly with a mild car shampoo and water. Rinse off any remaining solvent or residue.
The application of wax layer after drying the car surface leads to protection of paint and restoration of shine
Once dry, apply a layer of wax to protect the paint and restore its shine.
The details of different chemical, Solvents for tar removal is as under;
1. Apply a good quality tar removal spray or paste.
To remove tar, you can either apply the tar remover directly to a microfiber cloth or to the tar itself if it is dry. Use circular motions to rub the tar with the cloth. As the tar softens and comes off, flip the cloth to use the clean side. Continue rubbing until all the tar is removed, and use additional clean cloths if needed.
If you are removing tar from a car, remember to wash the area with car wash soap and rinse it thoroughly. If the finish or shine appears dull after removing the tar, you can apply car wax to restore its appearance.
Spray removers tend to work more quickly, while pastes are a cost-effective option as they can be applied directly to small tar spots.

2. Removal of tar spot with less toxic biodegradable option e.g. Citrol/citrus cleaner.
To remove tar spots, you can opt the following guideline:
- Soak a microfiber cloth in Citrol and place it directly on the tar spot. Allow it to sit for about 10 minutes to allow the Citrol to penetrate and soften the tar.
- Take a separate clean cloth and apply light pressure to wipe away the tar spots. Repeat this process as necessary until the tar is completely removed.
- After removing the tar, rinse or wash the surface to eliminate any remaining traces of the cleanser.
- Using Citrol-soaked microfiber cloth helps to dissolve the tar and make it easier to wipe away. In order to avoid damaging the surface, remember to use the pressure gently. After tar removal ensure to clean the area properly so that any tar residue left be removed from the cleaning process.
3. Removal of tar using WD-40
- To remove tar using WD-40, opt the following guideline:
- Take a cloth and rub it all over the tar spot, ensuring it is coated with WD-40. Allow the WD-40 to sit on the tar for approximately 10 minutes.
- Grab a clean cloth and use circular motions to wipe away the lubricant. Continue wiping until the tar is completely gone.
- After removing the tar, wash the surface to remove any residue from the WD-40.
When cleaning PVC or car, it is important to reuse the appropriate sealants, finishes or protective coats as WD-40 can eat away at these protective products. Do not use WD-40 on glass or windows. The application of tar on windows leaves oily residue that is not easy to remove on the later stages. By soaking of cloth in WD-40 for removal of tar stains, the lubricant results in softens the tar and make it convenient for removal. Remember to wash the surface afterward to eliminate any remaining residue. Take care to protect any appropriate finishes and avoid using WD-40 on glass or windows to prevent oil buildup.

4. Apply Tar removal Solvent
To remove tar, you can opt the following guideline:
- Soak a clean rag in a suitable solvent such as gasoline, kerosene, diesel fuel, or mineral spirits.
- Place the soaked rag directly on the tar spot and let it sit for approximately 10 minutes. This allows the solvent to penetrate and loosen the tar.
- Lift the rag away and use a new, clean cloth to wipe the surface and remove the tar.
- It is recommended to use fresh cloth on every time to ensure the cleaning.
- Repeat the process as needed until the tar is completely removed.
- If you’re wiping a car body or a waxed surface, you may need to reapply the finish or protective wax if it gets stripped away by the solvent.
- For safety, it’s important to wear protective gloves when handling powerful chemicals like gasoline or mineral spirits to protect your skin.
By soaking the rag in a suitable solvent, you allow it to break down the tar, making it easier to wipe away. Be cautious when using solvents on surfaces with protective finishes, as they may get stripped away. Remember to prioritize safety by wearing protective gloves when handling strong chemicals.
5. Goo Gone Adhesive Removal Spray
In the majority of cases, stubborn tar can be easily lifted off. However, if it proves difficult to remove, allow the tar to soak in Goo Gone for several minutes and then attempt to remove it again. It is important to replace the cloths as they become dirty and continue rubbing until the tar lifts away. Afterward, rinse the area thoroughly.
Please note that Goo Gone has the potential to dissolve sealant, wax, and even paint.
6. Usage of laundry Stains Removal
To effectively remove tar, you can opt the following guideline:
- Spray a pretreatment stain remover directly onto the tar or apply it using a cloth. Make sure to apply an ample amount to saturate the tar.
- Allow the stain remover to sit for a few minutes to loosen or dissolve the tar.
- Use a clean cloth to wipe off the tar and gently press down as needed. After removing the tar, rinse the area with clean water to remove residue. Reapply the remover if necessary and repeat the process until the tar is completely gone.

7. Application of household oils i.e. canola, vegetable oil for removal of tar
To remove tar, you can try using oils such as vegetable, soybean, canola, or linseed oil. opt the following guideline:
- Apply a few drops of the chosen oil directly onto the tar.
- By giving sufficient time to soften the tar, it will allow the oil to be there on surface for few minutes.
- After that take a clean cloth and clear the tar. Depending upon the intensity of tar, the procedure may be repeated many times, due to fact that oils are not potential solvents.
- It’s worth noting that oils generally do not remove finishes or sealants from PVC or car bodies. They are readily available and cost-effective compared to specialized tar removal products.
- The mixing of equal parts of oil and distilled white vinegar results in formation of stronger cleaning solution. The application of oil to tar helps to break it down and make it convenient for removal. Oils are generally safe to use and won’t damage finishes or sealants. If the tar proves stubborn, a mixture of oil and distilled white vinegar can provide a stronger cleaning solution.
8. Application of peanut butter for tar removal
To remove tar, you can use peanut butter as a safe and effective alternative. opt the following guideline:
- Place a dollop of peanut butter directly onto the tar and let it sit for approximately 30 seconds. This allows the oils in the peanut butter to penetrate and soften the tar.
- Take a clean cloth and wipe away the peanut butter along with the tar. Repeat this process as needed until the tar is completely removed.
- After removing the tar, rinse or wash the area with clean, soapy water to ensure all residue is eliminated.
- If you are dealing with a large tar spot, you can apply peanut butter to a microfiber cloth and rub it around the affected area until the tar is fully covered.
- It’s important to note that peanut butter works slower than chemical solvents but is safe to use on any plastic or car body surface.
9. Removal of tar by Mayonnaise
To remove tar, you can utilize mayonnaise as a practical and effective option. opt the following guideline:
- Apply a thick dab of mayonnaise directly onto the tar spot. If dealing with large or multiple spots, smear mayonnaise all over the affected area.
- Allow the mayonnaise to sit on the tar and soften it for up to 10 minutes.
- Using a clean cloth, wipe away the mayonnaise along with the tar. Repeat this process as necessary until all the tar is removed.
- After removing the tar, rinse and wash the surface to ensure any residue of mayonnaise is completely eliminated.
- Mayo acts in a similar way to oil as it both softens and dissolves the tar.
- By using mayonnaise, you can effectively break down and remove the tar. Mayo’s properties allow it to soften and dissolve the tar, making it easier to wipe away. Remember to rinse and wash the surface afterward to remove any remaining mayo residue.
10. Make a paste of baking soda with water for tar removal
To remove tar, you can create a mixture using equal parts baking soda and water. opt the following guideline:
- The paste formulated as a result of mixing equal parts of baking soda and water.
- Moderate pressure is applied on wet rag scrub, after application of baking soda paste on the tar.
- Take advantage of the abrasive nature of baking soda to help remove the tar.
- Repeat this process as needed until the tar is completely removed.
- Rinse the paste away with clean water to ensure all residue is eliminated.
- If necessary, you can let the baking soda paste sit on the tar for a few minutes to soften it before scrubbing.
- It’s important to note that cleaning with baking soda may leave small scratches on plastic surfaces. If this occurs, you can gently buff out the scratches using a soft cloth.
- For stubborn tar, you can try substituting water with distilled white vinegar in the baking soda mixture for added cleaning power.
- By using a baking soda paste, you can effectively remove tar. The abrasive nature of baking soda helps to scrub away the tar while being gentle enough on most surfaces. Remember to rinse the area thoroughly and address any potential scratches on plastic surfaces. If needed, you can try using distilled white vinegar as an alternative to water for enhanced cleaning capabilities.
11. A complete wash to car for tar removal
To effectively clean up tar, sap, bugs, and other sticky residue from your car’s surface, you can use car wash soap. opt the following guideline:
- Move your car to a shaded area to avoid direct sunlight.
- Pour car wash soap into a bucket and dilute it with water according to the instructions on the packaging.
- Use an auto wash mitt or a soft sponge to apply the soapy solution all over the body of your car.
- Scrub the affected areas with long, back-and-forth motions instead of circular or swirling motions. This helps prevent any potential swirl marks.
- Rinse the car thoroughly with clean water, ensuring all the soap and residue are washed away.
- If any tar remains, repeat the process until it is completely removed.
- After washing, dry off the car using a microfiber towel or chamois to prevent water spots and maintain a clean finish.
- By using car wash soap and following these steps, you can effectively remove tar and other sticky residues from your car’s surface. Remember to rinse thoroughly and dry the car properly to achieve a spotless and polished result.
Conclusion
Removing tar from PVC, plastic, or car bodies doesn’t have to be a daunting task. By following the appropriate methods and using the right tools and cleaning agents, you can effectively eliminate tar and restore the surfaces to their original condition. Remember to prioritize safety and take preventive measures to minimize tar buildup. With these tips, you’ll be able to keep your PVC, plastic, or car looking clean and tar-free.

